The Living Light: A Beginner’s Guide to DIY Bioluminescent Art

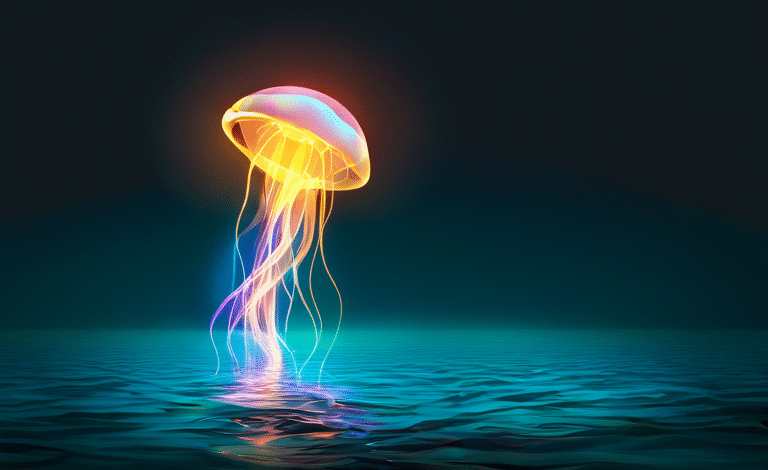
Imagine a painting that breathes. Imagine a sculpture that comes alive with an ethereal, blue-green light, not from batteries or electricity, but from living organisms. This isn’t a scene from a fantasy film; it’s the mesmerizing world of DIY bioluminescent art. This unique art form harnesses the natural light produced by living creatures—most commonly, tiny marine algae called dinoflagellates—to create temporary, interactive, and utterly magical works of art.
Whether you’re an artist seeking a new medium, a science enthusiast, or simply someone captivated by the beauty of nature’s light, this guide will provide you with the knowledge and steps to begin your journey. You will learn how to cultivate your own living light and use it to create art that is truly alive.
What is Bioluminescence? Nature’s Cold Light
Before we create the art, let’s understand the science. Bioluminescence is the production and emission of light by a living organism. Unlike a light bulb, which produces a lot of heat, bioluminescence is a “cold light,” meaning very little thermal energy is lost in the process. It’s a chemical reaction that occurs in various creatures, from fireflies and anglerfish to fungi and, most importantly for us, marine microorganisms.
Our star players are a species of dinoflagellates called Pyrocystis fusiformis. These are single-celled algae that live in the ocean. They photosynthesize during the day (like plants) and then produce a stunning blue-green light at night when they are agitated or disturbed. This flash of light is a defense mechanism designed to startle predators. For the artist, this agitation is our paintbrush.
The Artist’s Medium: Sourcing and Caring for Your Dinoflagellates
You can’t create DIY bioluminescent art without your living light source. Fortunately, acquiring and caring for Pyrocystis fusiformis is surprisingly straightforward.
Where to Get Dinoflagellates:
You don’t need to go to the ocean with a bucket. Several online suppliers specialize in selling starter cultures of dinoflagellates for educational and home use. Search for “buy dinoflagellates” or “Pyrocystis fusiformis culture.” They are typically shipped in a small bottle or pouch.
- Reputable Suppliers: Look for educational science supply companies or specialized online stores. A popular example is “PyroFarms,” but many others exist.
Creating the Perfect Habitat: The “Dino-quarium”
Your dinoflagellates need a happy home to thrive and produce their best light.
- The Container: A clear glass or plastic container with a loose-fitting lid is ideal. An Erlenmeyer flask, a simple glass jar, or a clear vase all work well. The lid should allow for gas exchange but prevent excessive evaporation.
- The “Food” (Growth Medium): Your dinoflagellates will arrive in a nutrient-rich seawater solution. For them to multiply and thrive long-term, you’ll need to purchase a special “Dino-Nutrient” or L1-Guillard growth medium, also available from your supplier.
- The Light Cycle (Crucial!): This is the most important part of their care. Dinoflagellates operate on a strict circadian rhythm. They need 10-14 hours of light followed by 10-14 hours of darkness every single day.
- Daytime: Place them in a spot with medium, indirect natural light. Never place them in direct, hot sunlight, as this will cook them. A north-facing window is often perfect. You can also use a simple, low-wattage LED or fluorescent light on a timer.
- Nighttime: They need near-total darkness to “charge up” their bioluminescent chemicals. Avoid exposing them to light at night, as it will disrupt their cycle and diminish their glow.
Ongoing Care:
- Temperature: They are happiest at room temperature, around 68-77°F (20-25°C).
- Feeding: Every 2-4 weeks, you can “split” your culture. Pour about half of your existing culture into a new container and top up both the old and new containers with fresh growth medium. This gives them more space and nutrients to grow.
From Culture to Canvas: Techniques for Creating Bioluminescent Art
Now for the magic. Remember, the light is only produced when the water is agitated. Your art will be ephemeral, lasting only as long as the motion continues, which makes it an interactive and performance-based medium. All art creation should be done in a very dark room.
Technique 1: The Living Luminary (Beginner)
This is the simplest and most common form of bioluminescent display.
- The Setup: Simply use a beautiful glass container—a swirl-shaped vase, a sphere, or even a wine decanter.
- The Art: In a dark room, gently swirl the container. The dinoflagellates will trace the path of the moving water, creating mesmerizing, swirling galaxies of light. This is less about making a specific image and more about showcasing the raw, natural beauty of the light.
Technique 2: The Bioluminescent “Rain” Chamber (Intermediate)
This technique creates a stunning effect of glowing rain.
- The Setup: You will need two clear containers. One large, open-topped container (like a rectangular glass vase or small fish tank) to serve as your canvas, and a second container with small holes in the bottom (like a plastic berry container or a colander).
- The Art: In the dark, fill the main container with your dinoflagellate culture. Then, using a separate container of plain saltwater, slowly pour it through the perforated container above. As the “rain” droplets hit the surface of the dinoflagellate culture, each impact will create a brilliant flash of light, creating the illusion of glowing rain.
Technique 3: The Interactive Surface (Advanced)
This allows you and others to “paint” with light.
- The Setup: Use a large, shallow, clear tray (like a pyrex baking dish or a clear acrylic tray). Pour your culture into the tray to create a thin layer.
- The Art: This is now an interactive canvas. You can:
- Paint with your fingers: Gently drag your fingertip across the surface of the water to create glowing lines.
- Use “stamps”: Lightly press objects onto the surface to create glowing impressions.
- Introduce sound: Place the tray on top of a speaker playing music with deep bass. The vibrations will cause the entire surface to shimmer and pulse with light in time with the music.
Technique 4: Documenting Your Ephemeral Art
Because DIY bioluminescent art is temporary, photography and videography are essential for preserving it.
- Camera Settings: You will need a camera with manual controls (a DSLR, mirrorless, or even a high-end smartphone with a pro mode). Use a long shutter speed (e.g., 1-5 seconds), a wide aperture (e.g., f/1.8), and a high ISO (e.g., 1600 or higher).
- Tripod is a Must: Due to the long shutter speed, the camera must be perfectly still.
- Focus Manually: Autofocus will struggle in the dark. Pre-focus on your container with the lights on, then switch to manual focus before you turn them off.
Ethical Considerations and Best Practices
- They Are Living Things: Always treat your dinoflagellate cultures with care. Avoid exposing them to harsh chemicals, extreme temperatures, or overly violent shaking.
- The Lifespan of Your Art: Remember that every flash of light uses up some of the dinoflagellate’s stored energy. An intense art session will mean they need a good, dark rest period to recharge.
- Disposal: If you ever need to dispose of your culture, you can simply pour it down the drain. They are non-toxic and naturally found in the environment.
Conclusion: The Intersection of Art and Life
Creating DIY bioluminescent art is a profoundly unique experience. It challenges the traditional definition of art by using a medium that is alive, responsive, and fleeting. It teaches us about biology, chemistry, and the delicate rhythms of the natural world.
You are not just mixing paint; you are collaborating with millions of tiny, living organisms to create a moment of pure, glowing magic. It’s a reminder that even in the dark, there is life, and there is light. Now, go forth and create something that truly lives.


